Logging in to the Computer and Connecting to the Server
The purpose of this page is to describe the steps students enrolled in CPS121 or
CPS122 must take before using one
of the computers in the Macintosh lab (KOSC 118) for lab work.
The steps outlined here are the same, regardless of which software tools
one actually uses for software development.
What You Need to Get Started
To follow these steps, you will need an account on the department file server.
Each student enrolled in the class will have an individual account and an
individual password on the server. Though your username will be your standard
Gordon username (the one you use for email, etc.), your password will
not be. (Click here for directions
for changing your server password). All of your files will be stored on the
server, which means you can access them from anywhere on campus - not just
the specific computer you used to create them. Nothing that you create will
actually remain on the computer you use - everything should be created and stored
on the server. (In fact, whenever the computer is rebooted, anything you have
stored on it will automatically be deleted!)
A server account will be set up for you, and the password for your server account
will be furnished to you if you are enrolled in CPS121 or CPS122. Note that
your server password is an individual password - unique to you, and usable
from anywhere on campus where you can access the server.
Logging on to the Macintosh
Before you can access the tools described here, you need to log on to
the Macintosh. You login to the computer using your regular Gordon username
and password - the same as you use for accessing email, etc.
Connecting to the Server
Once you have logged in, you need to connect to the server.
- Be sure the Finder is the currently-running program. (The name Finder
will appear as the program name at the very left of the menu bar at the top
of the screen.) If not, click anywhere on the desktop (outside of the
window for any application) and the Finder will be made current. (When the
Finder is the current application, the word "Finder" will appear at the left
end of the menu bar.)
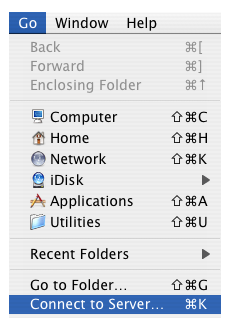
- Choose the "Connect to Server..." option at the bottom of the Finder's
Go menu.
- A Connect to Server dialog box should appear, which will look like the following:
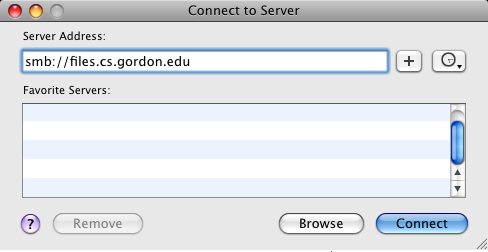
- Type the samba protocol specifier (
smb://) and the name of the CS department server
smb://files.cs.gordon.edu
In the Server Address box, then click "Connect". (It may already appear there,
if the last server accessed on this machine was the CS server - in which case
you can simply click "Connect", or it may appear in the list of favorite servers,
in which case you can double-click it.)
- In any case, you will now see a dialog like the following:
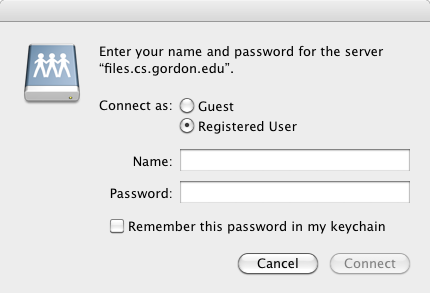
- Enter your personal username (your
email name), and your Samba password (which will echo as all bullets), then click
"OK". You will now see a dialog like the following:
You will now see a dialog just like the following:
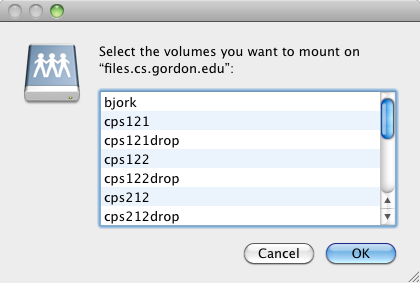
You may choose:
- Your own server volume (same as your server account name)
or
- The common volume, which contains files being made available to the
class as a whole. Its name is your course ID. (You may also see volumes
for other courses, which you don't need to access.)
To select a single volume, select it in the drop down, and click "OK".
If you need to select more than one volume (e.g. if the lab directions call
for mounting both your own volume and the common volume) then you will have
to go through process twice - though you won't be asked to authenticate
again. There does not seem to be any way to select to mount
two shares at once.
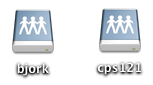
- An icon for the volume you have selected should appear on your desktop
(possibly after a brief delay.) When you want to open a window for a server
volume, you can double click on the icon for that volume.
Logging Out
VERY IMPORTANT: When you are through with your session in lab, you
should logout from the computer.
To to this, select Log Out (the last item) from the "Apple" menu at the upper left hand
corner of the screen. You will see a confirmation box, asking you if you are sure you
want to log out now. Click the Log Out button and you're done! (The volumes you
mounted are dismounted when you log out.) Note that if you fail to log out, and
leave your Volume on the desktop, someone else can do nasty things to you!
Last revised: December 21, 2012